Beanies
Hey all, its been quite a bit since I had a freebie pattern or tutorial on here. I figured a good way to step back in would be to show y’all my latest obsession. I’ve been making beanies. Beanies have been a good quick project, which has been great for how I’ve been feeling lately. We’ve all been in those slumps where we don’t want to make the big projects. The dopamine of finishing a whole bunch of smaller projects is a bit steadier than the long task of finishing a blanket or throw even if its not as big of a win.
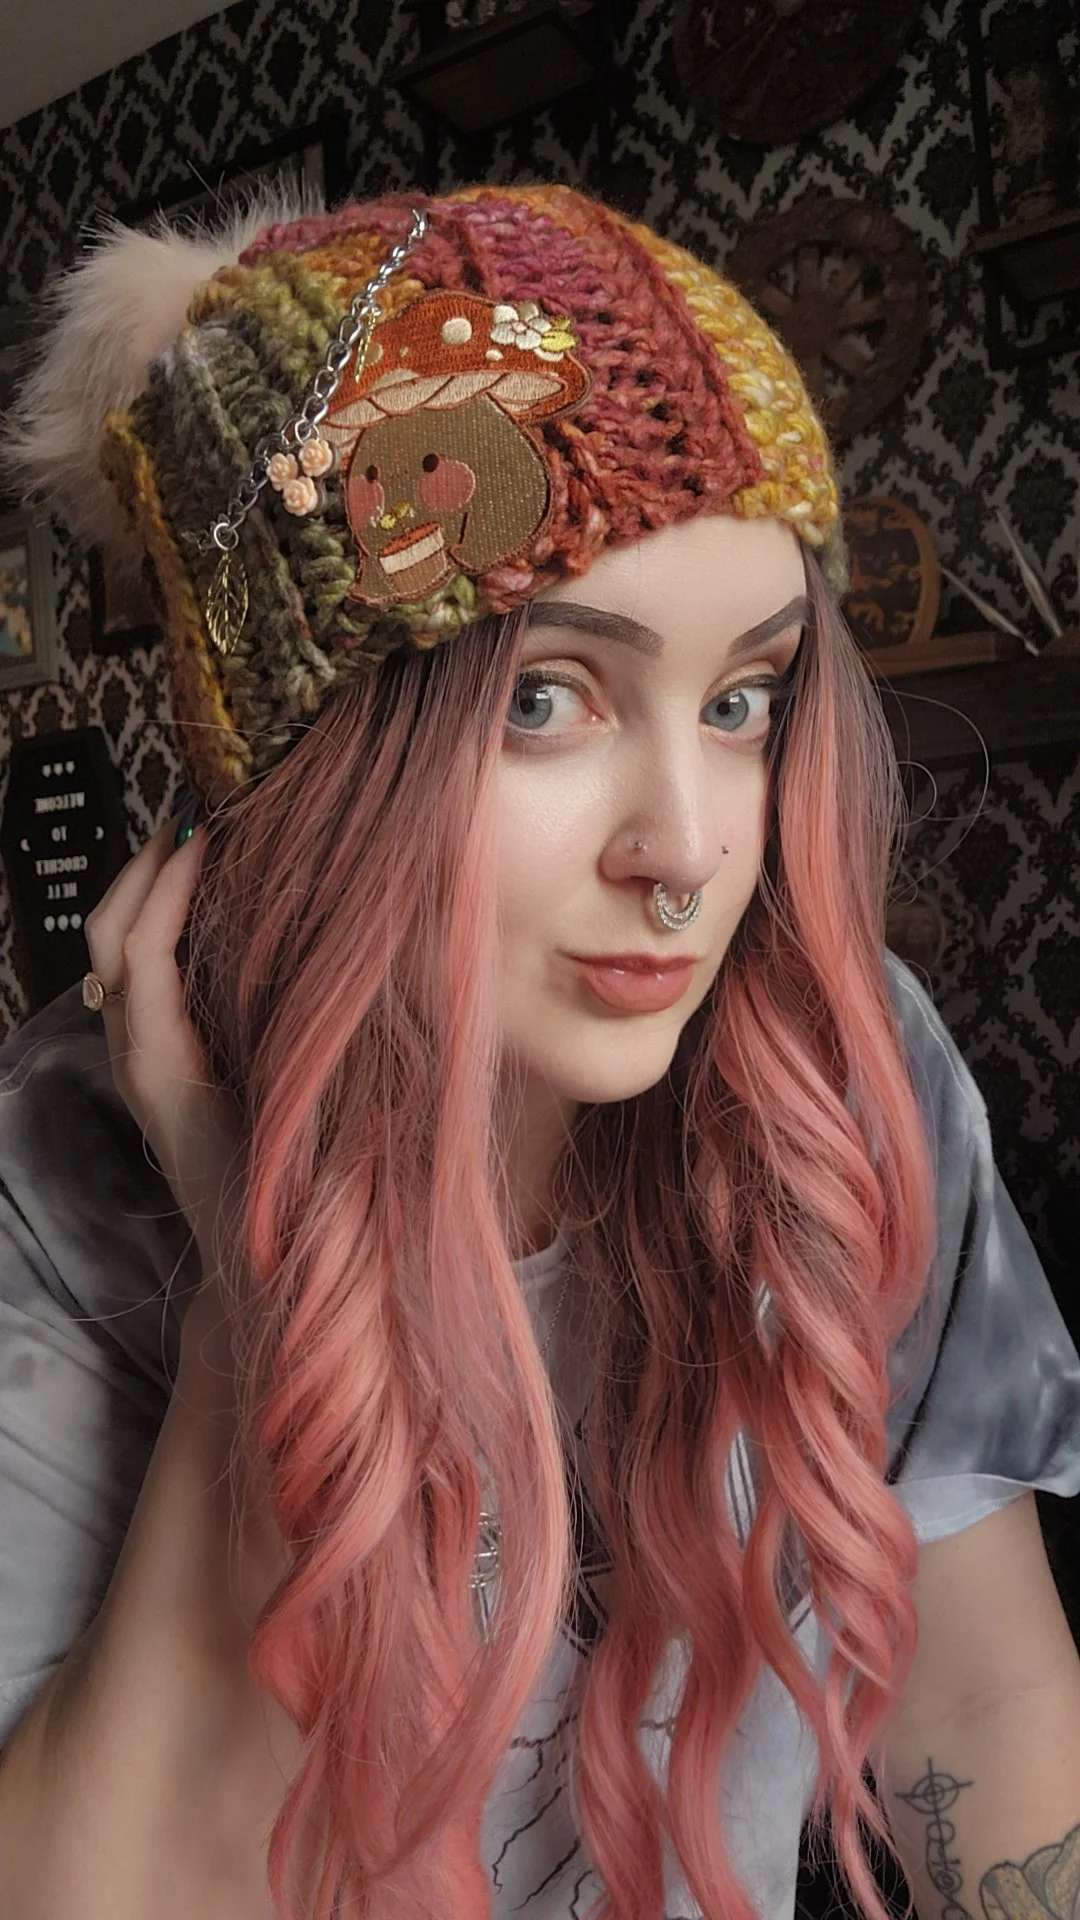
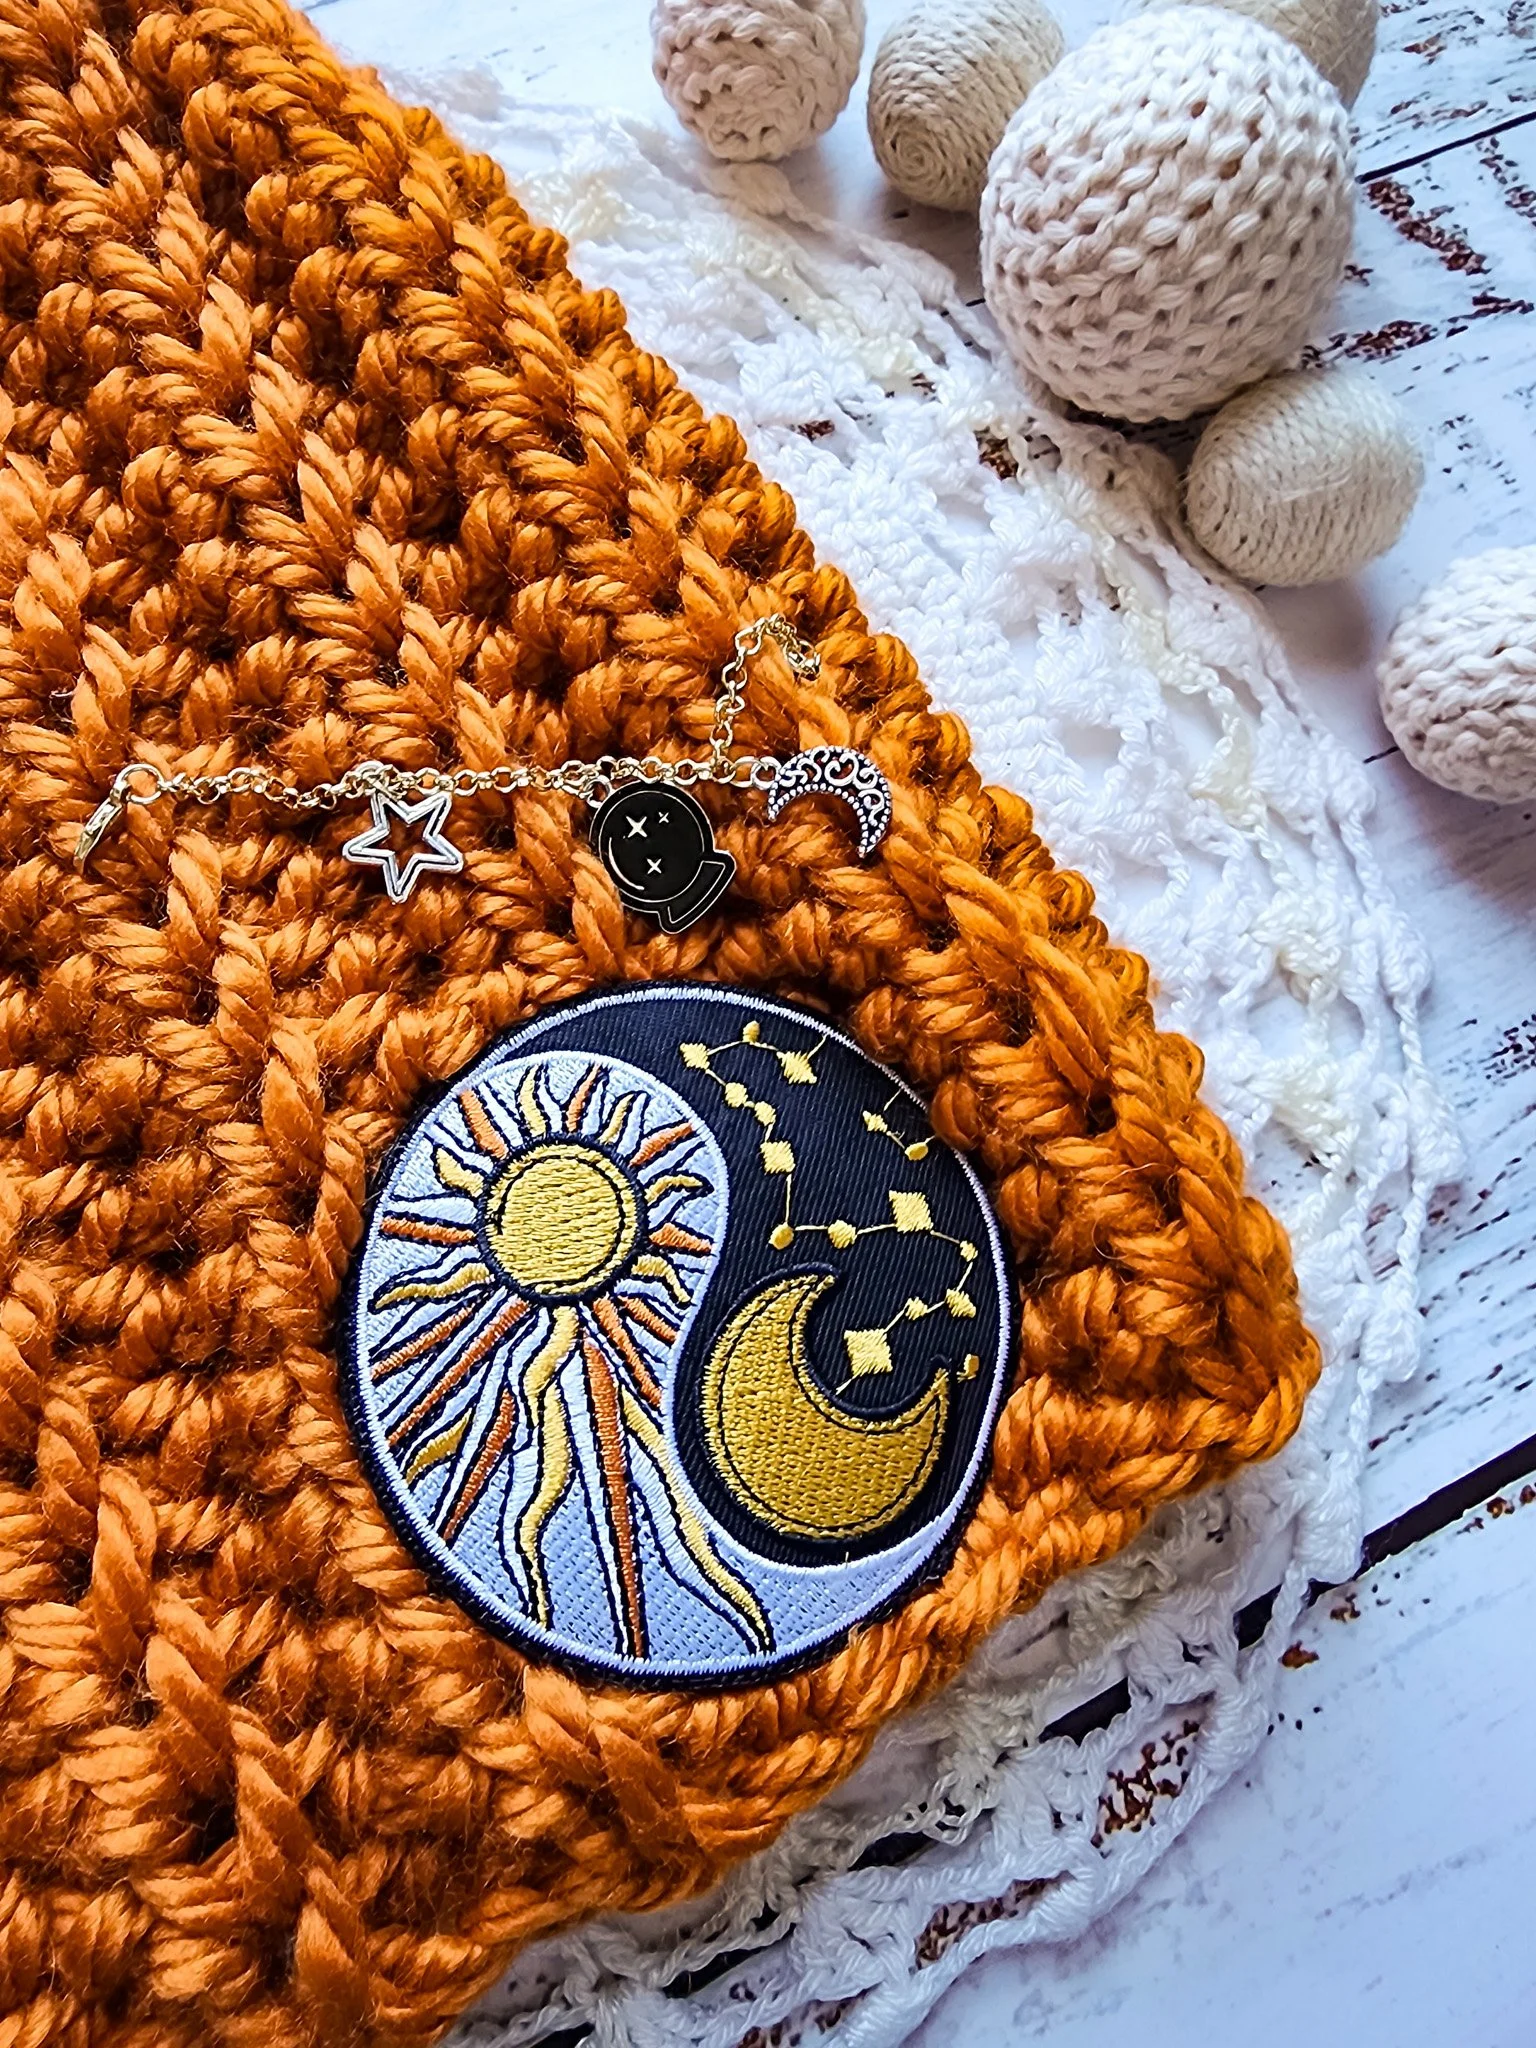
That being said, I’ve made a few adjustments to a typical beanie. I started sewing on patches and adding little hat chains as well. I wanted my beanies to have more personality and to be different. I thought adding fun accoutrements would do that. I sew my patches on. I tend to be hard on clothes, jewelry and whatever because quite frankly I’m beyond clumsy and bump stuff and have been known to slip as well, so sewing patches on always works best for me.
The hat chains are removable as well. They have lobster claw clasps where they can be removed for washing or just if you aren’t feeling extra sparkly that day.

Okay without further ado, this will be a short tutorial/ pattern for a super bulky slouchy beanie.
Materials
L hook (7.00 mm)
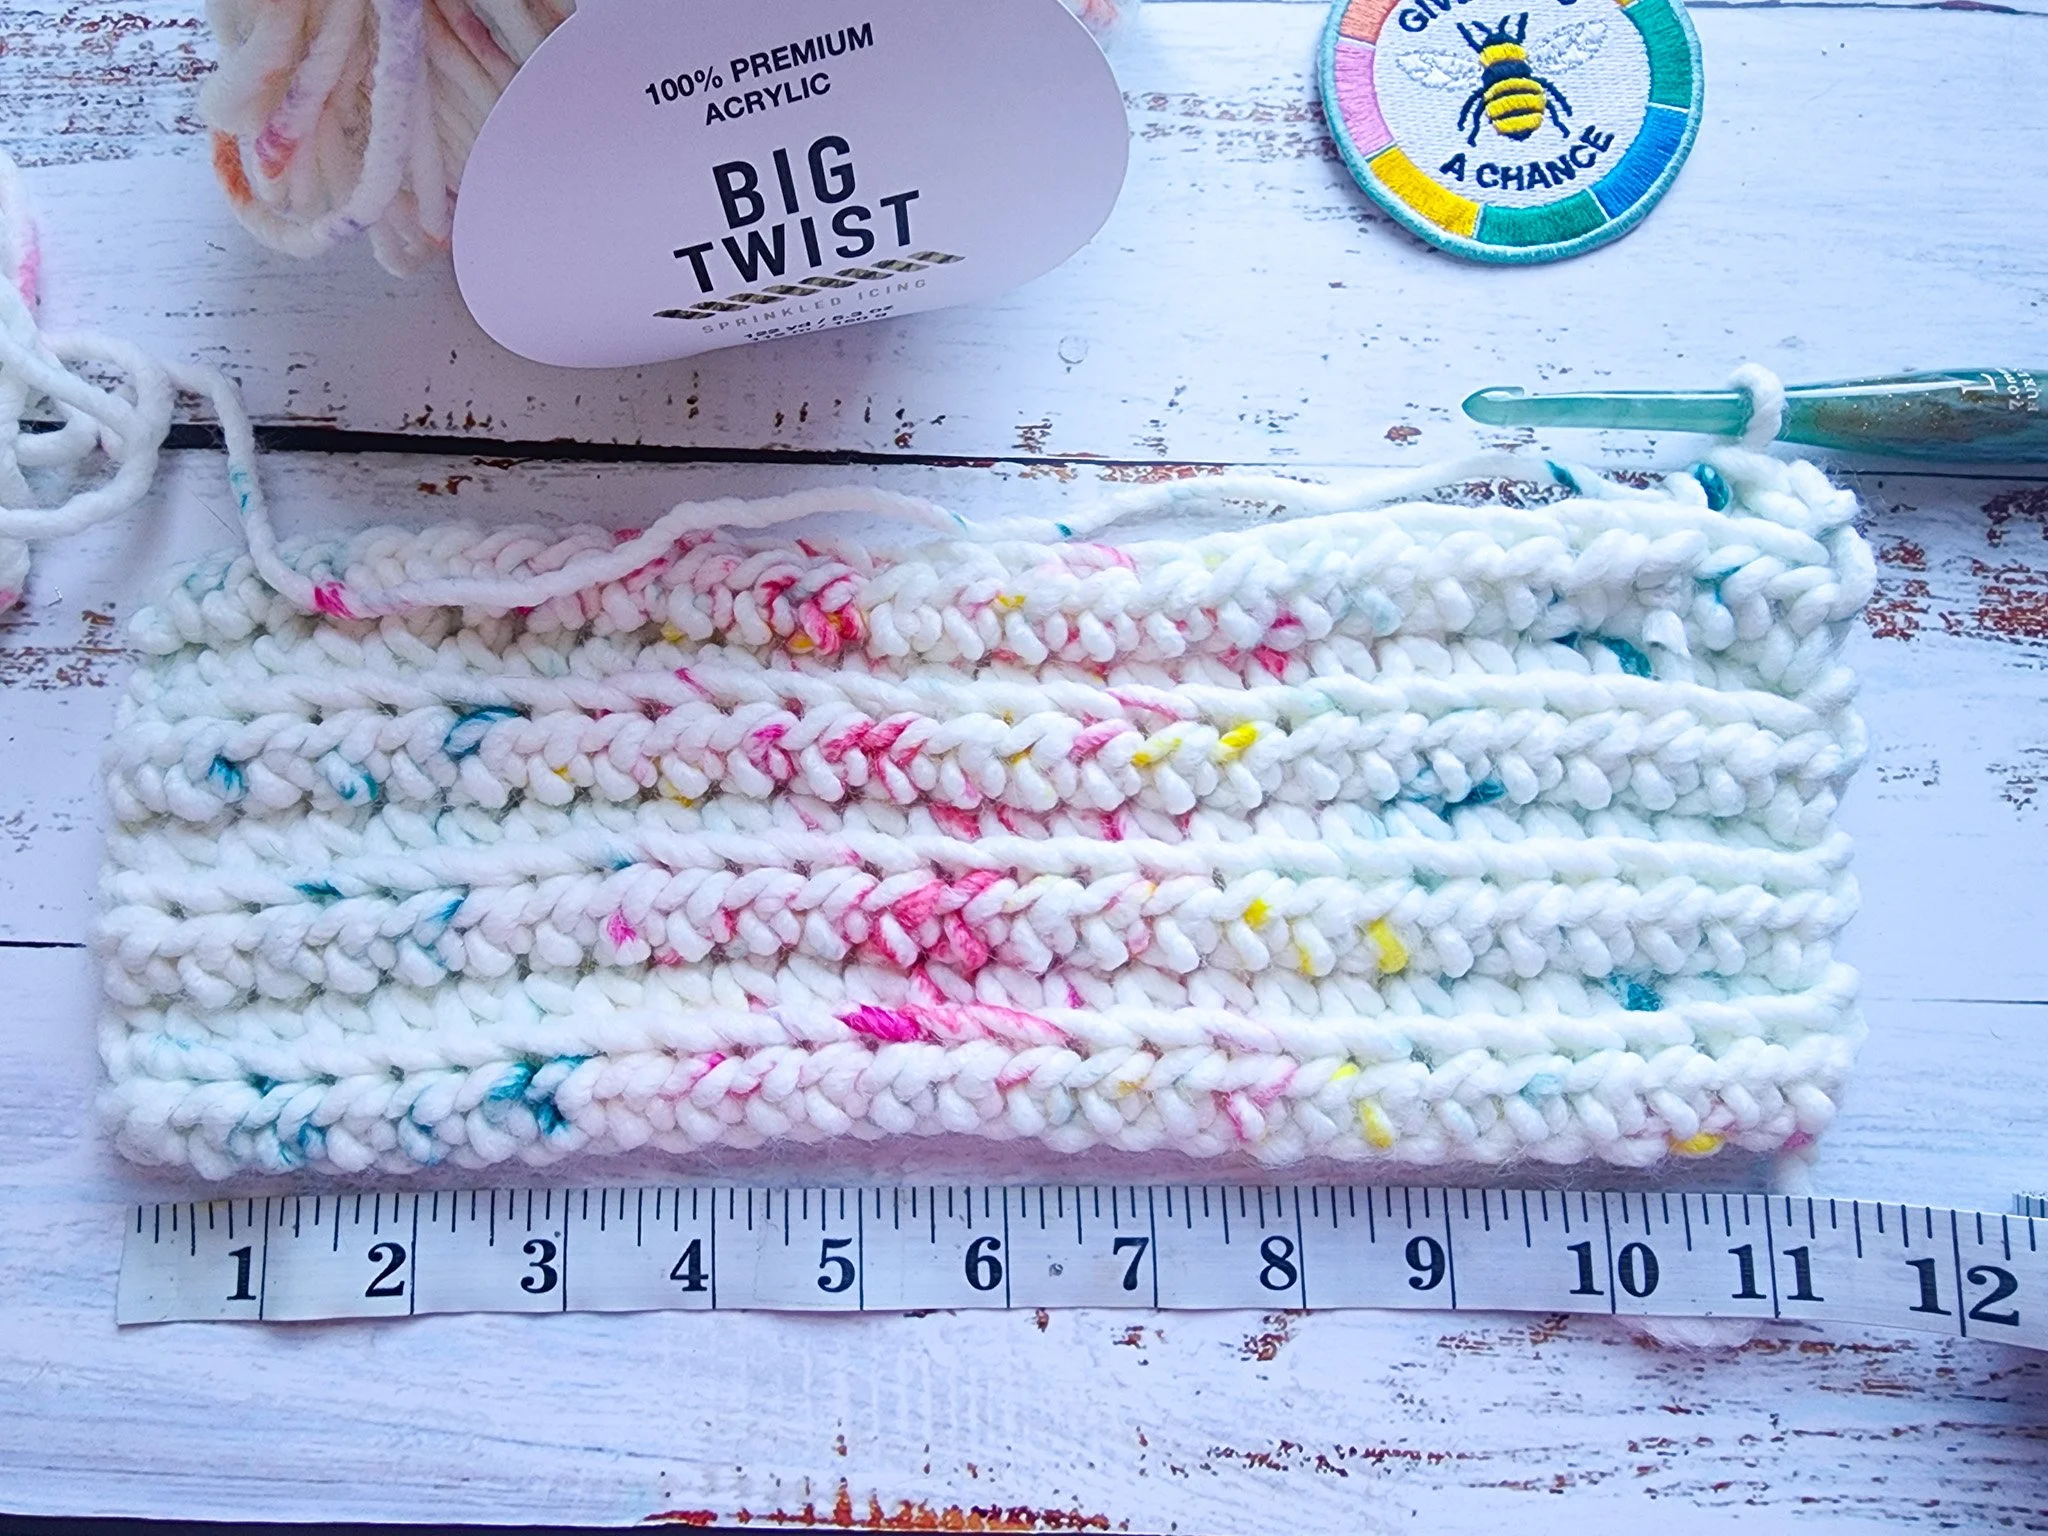
Super Bulky yarn 120 yards approx.
Larger 4 holed button
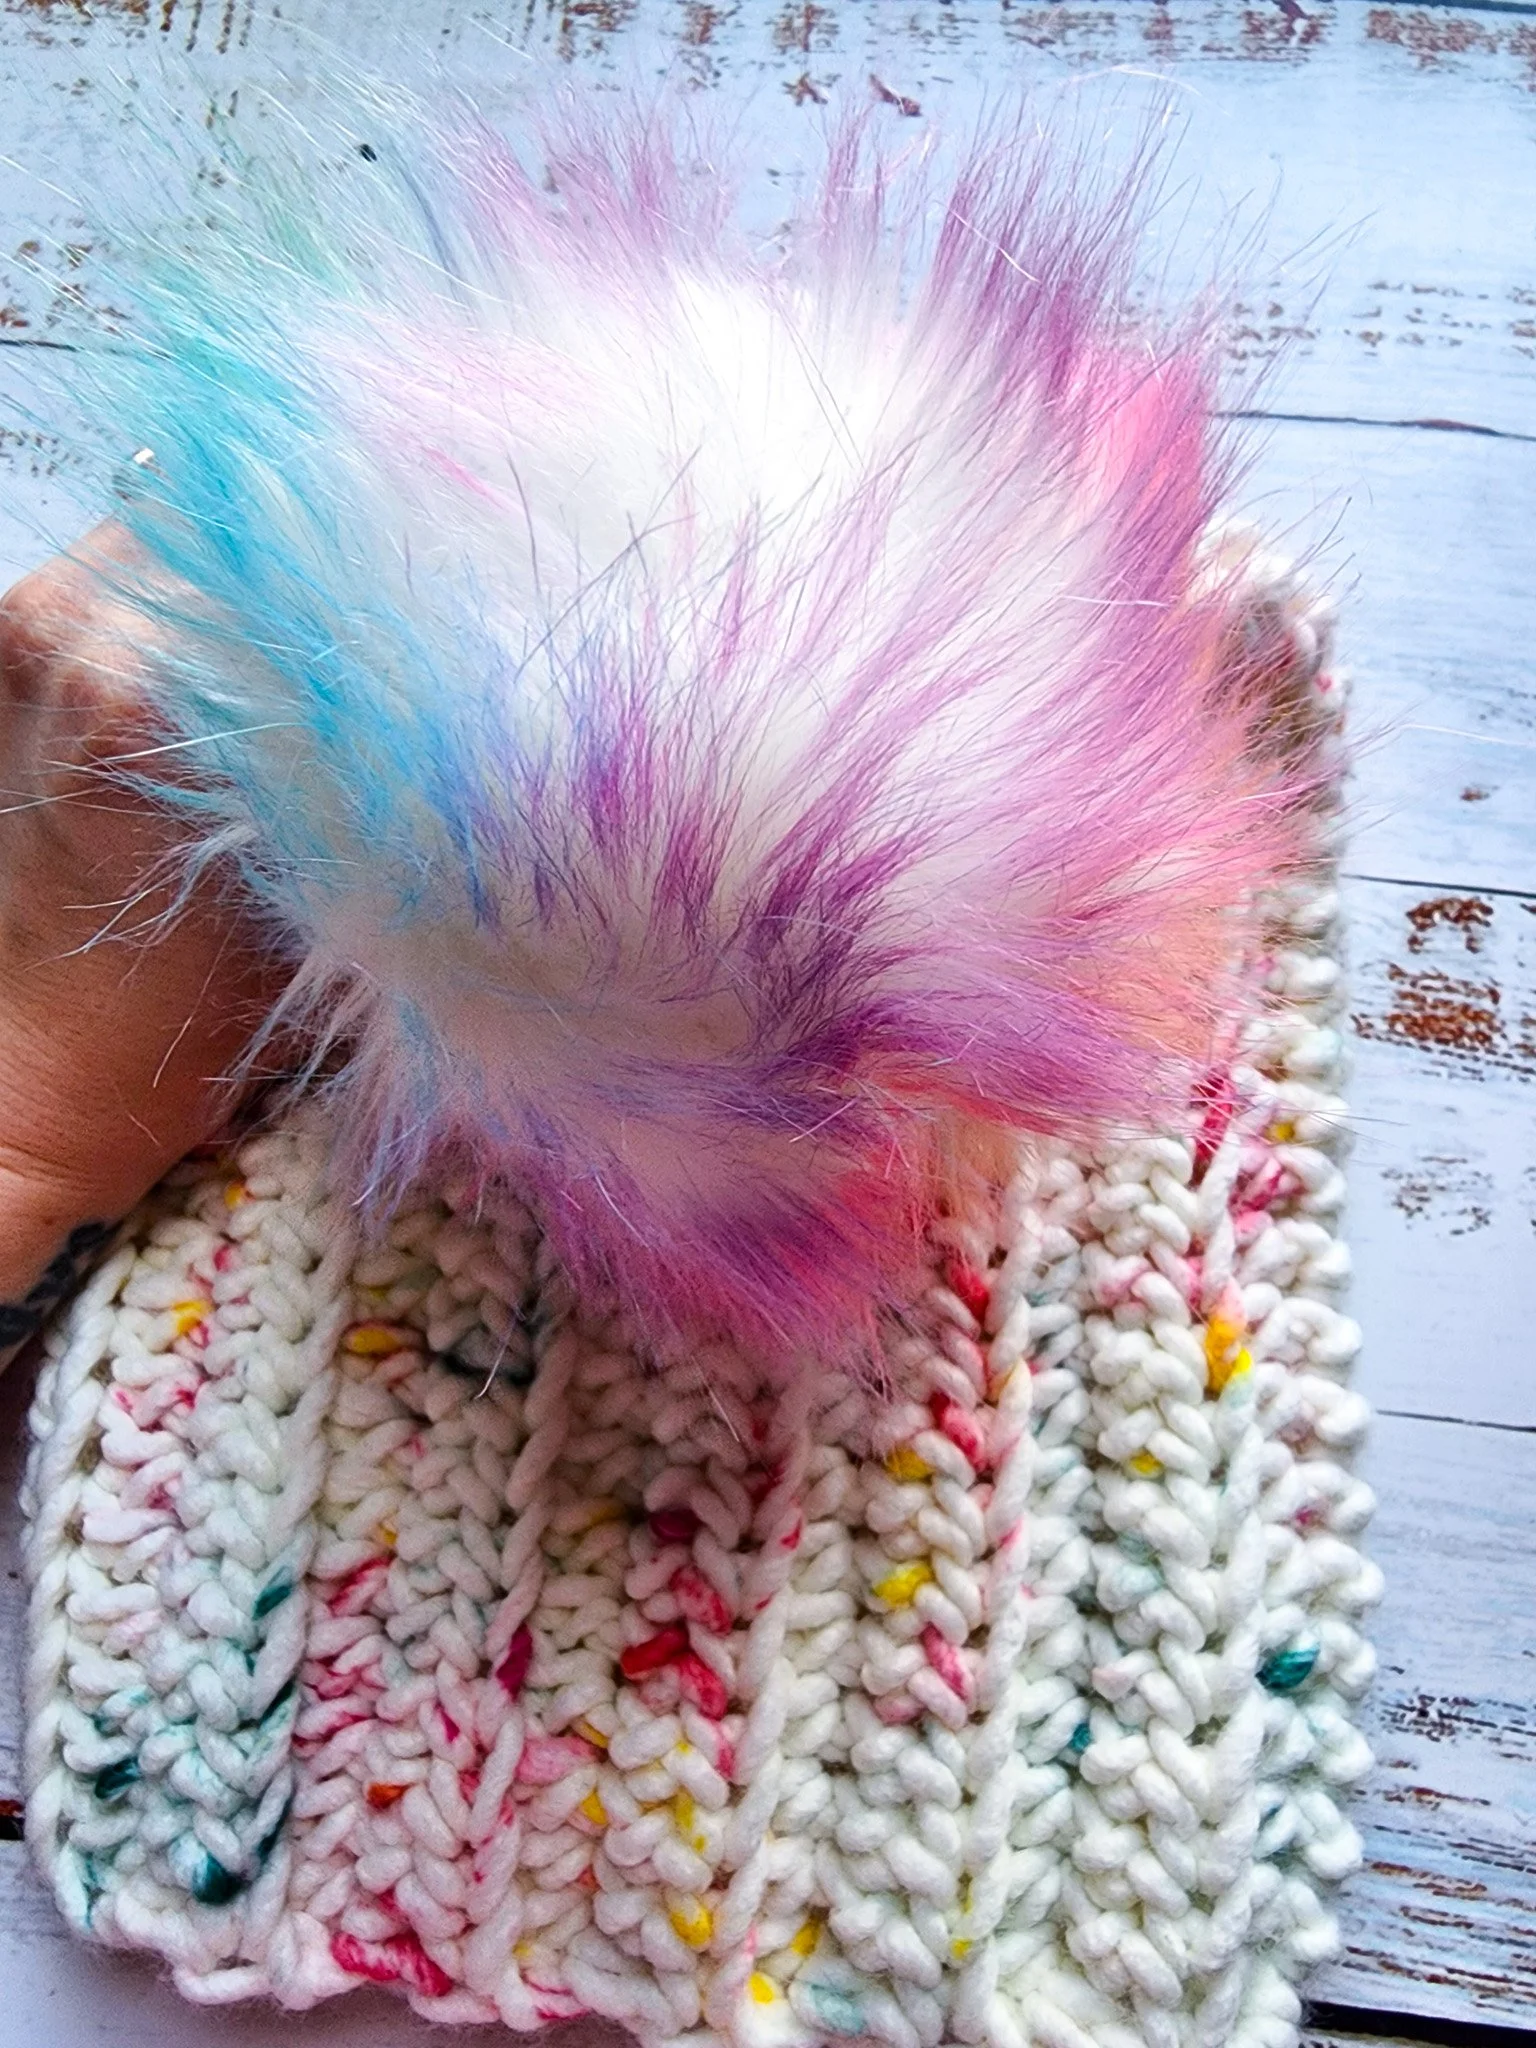
Pompom
Yarn Needle
Scissors.
Abbreviations
Ch- chain
Hdc- half double crochet
Blo- back loops only
Sl st- slip stitch
Pattern
Chain 27 (or until you hit between 11 and 12 inches, this will be the length of the hat this does not need to fit around your head)
Hdc in 2nd ch from hook and across, turn
Ch 1, hdc in blo only in each stitch across
^that is the row that will be repeated between 25 and 26 rows or how ever many you need.
(This is where it has to fit the circumference of your head).
Link to YT Short (for stitch)

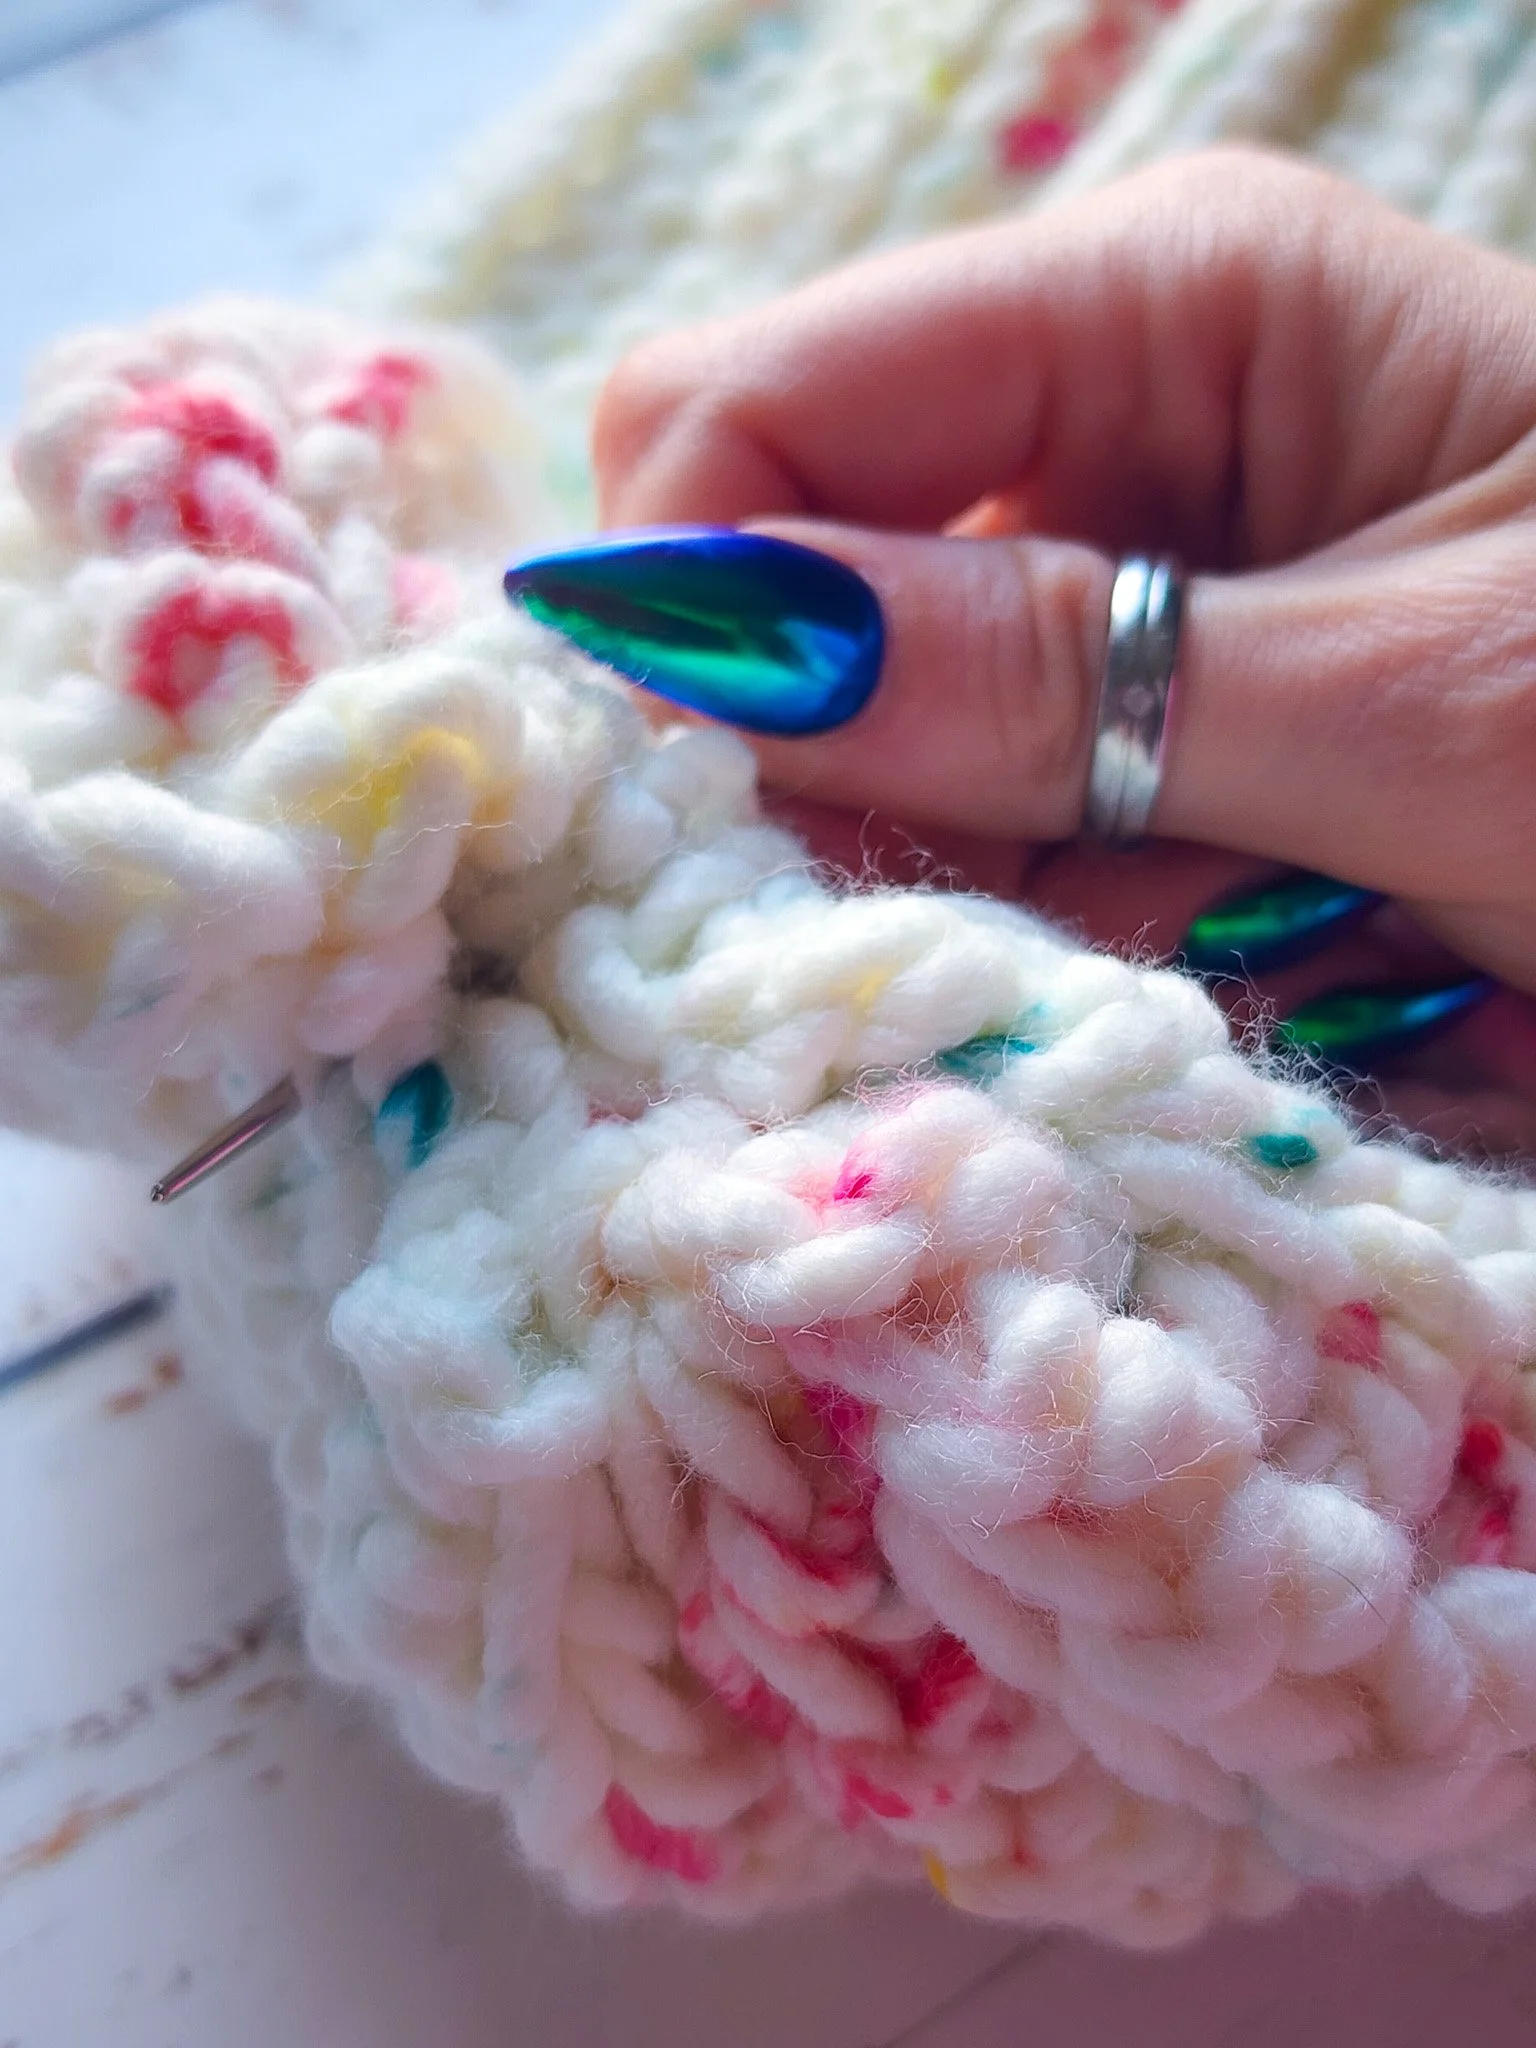
Once you are able to comfortably wrap it around your head we are going to stitch it together.
Fold the hat in half hamburger style with right sides facing.

Ch 1, and sl st, using the outermost loop on your last row and the full stitch of the beginning row,(this will make sure you still have the ribbing on the other side in this area) and sl st to the last stitch creating a tube.
Cut yarn leaving an extra long tail. We are going to use this to sew the end shut (creating the top of the hat)
Whip stitch around every few rows and once you make it all the way around that side, pull it super tight. Then stitch across both sides to make a + to make sure its secure.


I sew a button on the inside of mine for easy removal of the pompom, if also sewing a button on, do not finish off yet.
Take the button and sew across holes going in and out of beanie. Work over the plus sign you just made with stitching.
Link to YT Short for Button Sewing
Weave in any remaining ends, and flip the hat inside out. Now the outside is the actual outside of the beanie.
Using a hook or a bobby pin take the elastic band of pompom and pull through and attach around the button on the inside, securing it in place.
If you want to add a patch or cutesy chain you can. I recommend sewing on patches as they stay longer, and its not going to smoosh down your crochet stitches.
(I’ve use an iron before and it flattened all the stitches around the patch, even using all the correct settings.)
For a hat chain, make sure there are removable lobster claw clasps as well, so it can be removed for washing or just if the wearer feels like it. Make sure its attached loosely as well with a lot of dangle, because once the beanie is on the head, there will be less “give” in the chain as it isn’t stretchy like the hat material.
I hope this gave some creative ideas for making your own beanies.
Don’t forget that you’re amazing and Happy Crocheting!
