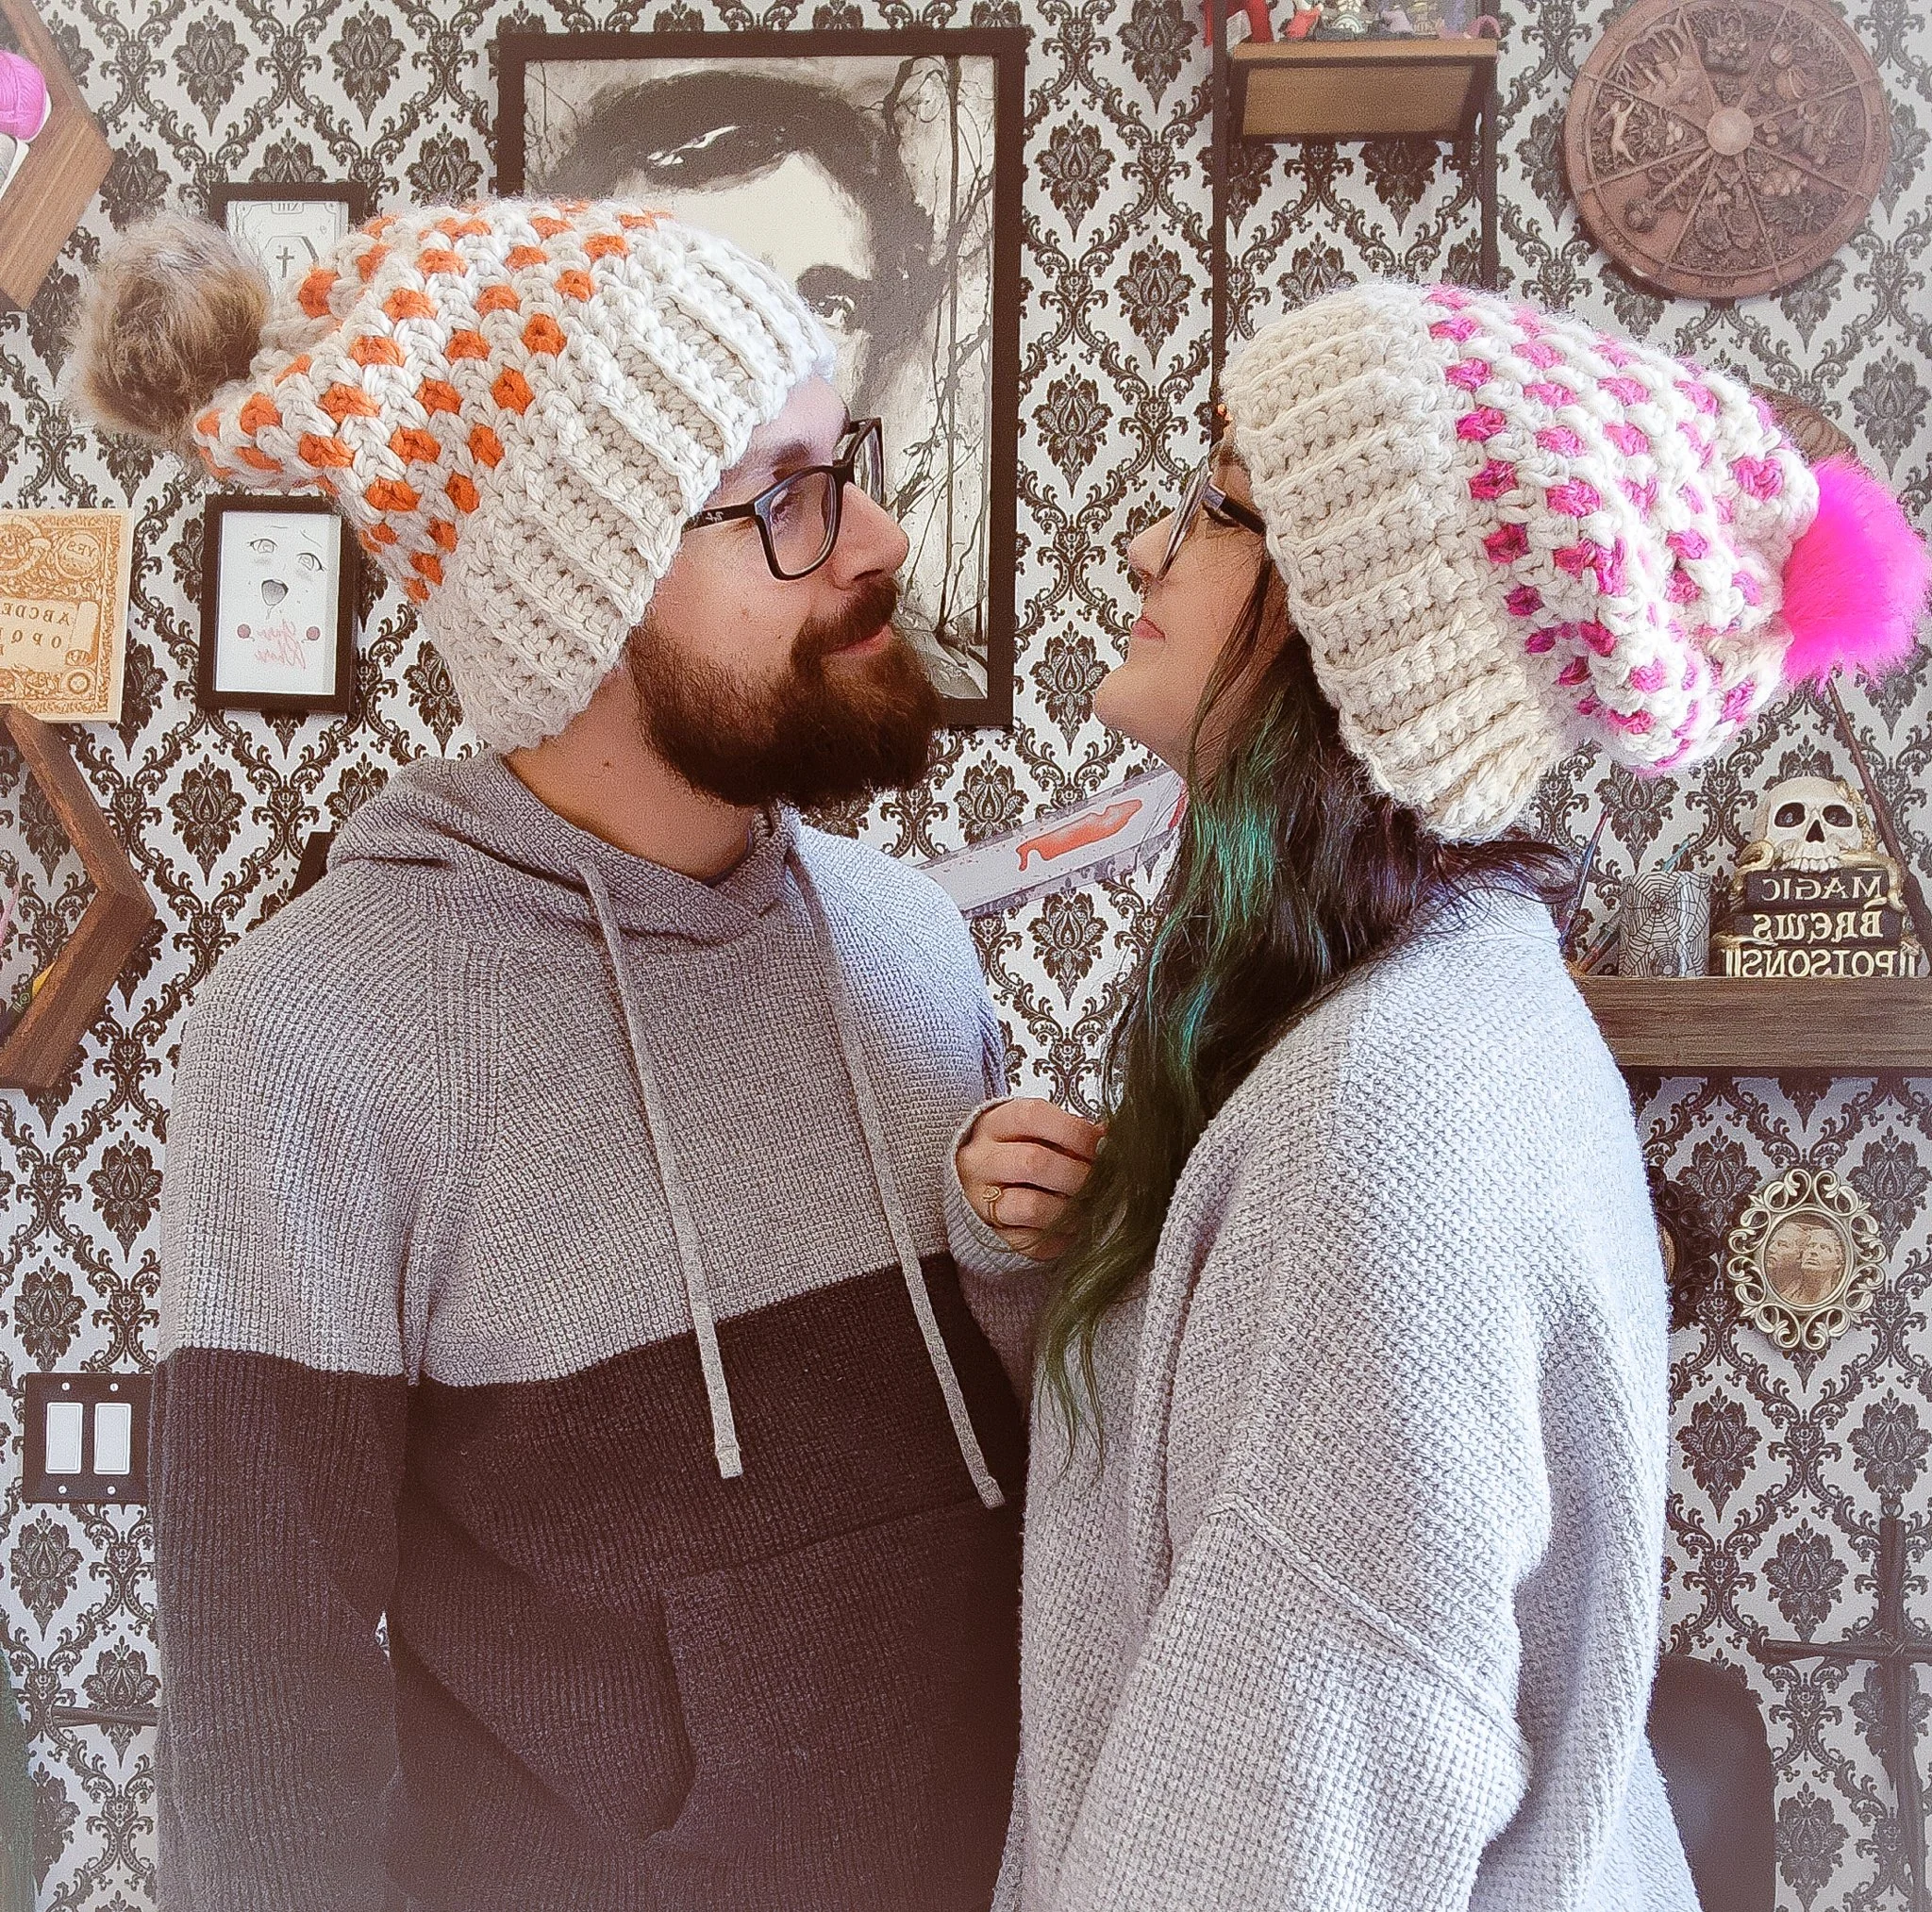
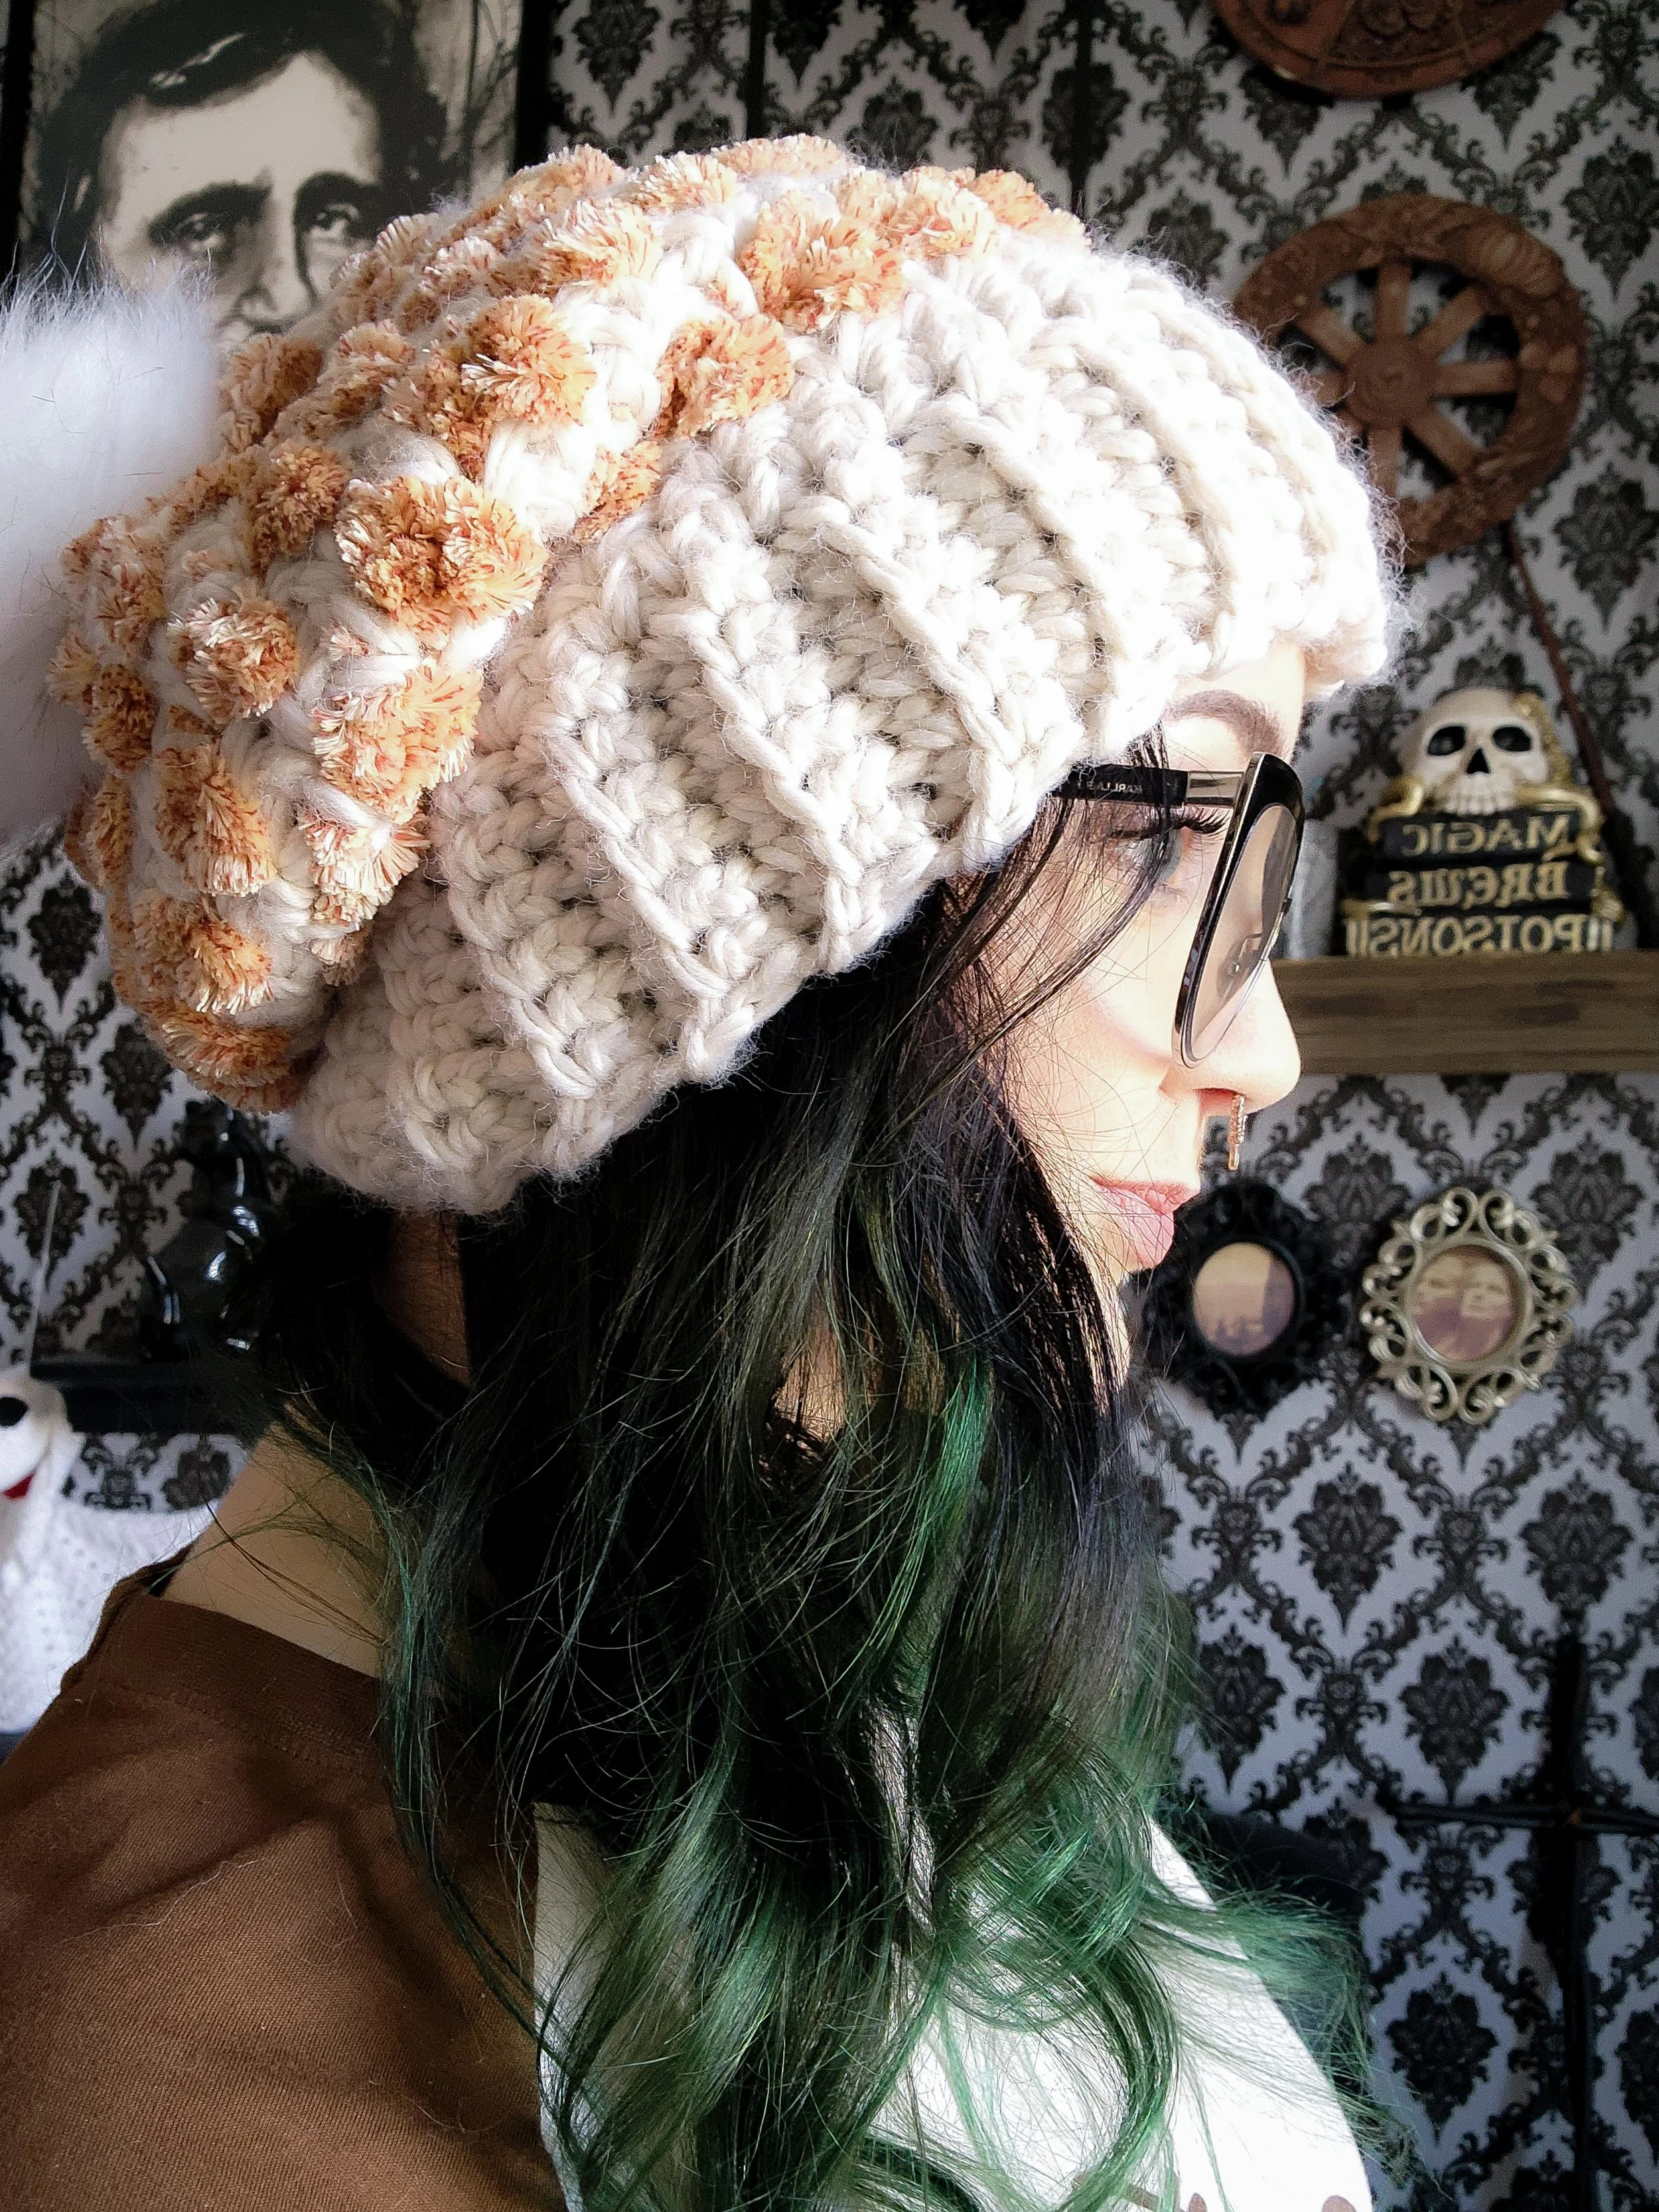
Estel Pattern
Wow, um I’m so sorry to have been basically MIA for the past 3 months almost. There’s been a ton of things going on at home, lots of patterns to type, trying to organize the house, some health things coming up and now my new job is in full swing. Also hopefully in a few months my schedule will change back to more of what I used to work, that would be nice.
I also finally got to be an Audible affiliate which is great since on my Instagram and on here, I have a plethora of books from them I’ve been promoting! That being said, they have an amazing deal going on through the end of the year! Click on the banner below! Also at the top section of this page there’s a book page. Check that out as well, it has a link to my audible list of recommendations.
Anywho, since its been a hot minute, I decided this pattern could also hit my blog. Its been a while since I had a freebie, and this one I’m really proud of. I suck at making hats y’all. I figured out a way to do so without having to do a much of increases and decreases (this is why I also suck at making clothes, give me squares and rectangles please).
You can also pick up an ad free version on the Etsy shop. All patterns are 20% off the rest of the month.
Estel in Elvish means faith or hope. I picked this as the first real hat pattern I've made and I had lost all hope I ever could, but here we are, a hat with no increase or decrease stitches.
Materials:
N Hook (9mm)
6 Weight Yarn in 2 colors,
Suggestions:
Lion Brand Re-Spun Thick and Quick-100 yards
Contrasting Color:
Lion Brand Wool-Ease Thick and Quick- 50 yards
Yarn Needle
Button
PomPom
Smaller yarn for attaching button
Abbreviations:
blo- back loop only
sc- single crochet
ch- chain
st- stitch
sl st- slip stitch
sk st- skip stitch
Youtube Tutorial for Sewing the Beanie
PATTERN:
With main color:
Ch 8, sc in 2nd ch from hook and across
Row 1: Ch 1, turn, sc in across in blo across
Repeat row 43x
(to make the brim larger add an extra 2 rows or to make smaller remove stitches by 2)
Row 45: Ch 1, sl st across with right sides together to first row (the tail from the start of your project should be on your right)
Row 46: Ch 1, sc in each st across the top brim in all the blo sc around, sl st to first st of row
Row 47: Ch 1, sc in same st, *ch 1, sk st, sc in next, * repeat around and sl st to first st
Change color
Row 48: Ch 1, sc in next space, *ch 1, sk st, sc in next,* repeat around and sl st to first st
Change color
Rows 49-50: Ch 1, sc in next space, *ch 1, sk st, sc in next,* repeat around and sl st to first st
Change color
Row 51: Ch 1, sc in next space, *ch 1, sk st, sc in next,* repeat around and sl st to first st
Change color
Rows 52-53: Ch 1, sc in next space, *ch 1, sk st, sc in next,* repeat around and sl st to first st
Change color
Row 54: Ch 1, sc in next space, *ch 1, sk st, sc in next,* repeat around and sl st to first st
Change color
Rows 55-56: Ch 1, sc in next space, *ch 1, sk st, sc in next,* repeat around and sl st to first st
Change color
Row 57: Ch 1, sc in next space, *ch 1, sk st, sc in next,* repeat around and sl st to first st
Change color
Rows 58-59: Ch 1, sc in next space, *ch 1, sk st, sc in next,* repeat around and sl st to first st
Change color
Row 60: Ch 1, sc in next space, *ch 1, sk st, sc in next,* repeat around and sl st to first st
Change color
Rows 61-62: Ch 1, sc in next space, *ch 1, sk st, sc in next,* repeat around and sl st to first st
*Cut the yarn leaving a long tail of about 12 in from the hat (You’ll use this to stitch up the top)
Finish Off
*Thread the needle, and in every 4th st approx. st around and once you get to the first st, pull tight which will pull the top closed. Stitch over the hole in a + pattern to make sure there aren’t any holes and cut off remaining tail once weaving in ends
*Weave in ends throughout hat
For pompom attachment:
*On the inside of hat stitch in a button at the center of top of hat
*Using crochet hook, pull through the stretchy hair tie and wrap around the button to secure in place.
Viola!
Pattern is property of Dark N Twisty Housewife. Items made from pattern may be sold. Please credit Dark N Twisty Housewife for pattern if/ when available. Pictures belong to Dark N Twisty Housewife and may not be used. Please do not re-post or re-write pattern and claim it as your own. No permission for mass production of items using pattern.